Health & Fitness
The Honest Guide to Organizing Your Closet: Part 2 In the Trenches Step-by-Step
Part 2 of the 3 part series: The Honest Guide to Organizing Your Closet. A detailed step-by-step description of how to organize your closet like the pros.
To make sure you get an honest to goodness shot at really getting your closet organized you need to allow yourself adequate time. This isn’t something to start at 11pm when you get a fleeting urge. I would suggest 4-8 hrs depending on how many clothes you have.
- Feel free to put on some music, it can help keep your energy up!
STEP ONE: PURGE
- You want to start with a blank slate, which means taking everything out of your closet. Set up a staging area like your bed where you can lay down all the hanged items.
-As you are taking everything out put like items with like items. For example, line up all your shoes in the hall. Pile all your scarves in one corner, and all your hats in another. This helps you see how much you have. Client’s are often astonished by the fact they have 56 pairs of shoes, but never knew it until they were in one big pile.
Find out what's happening in Brentwoodwith free, real-time updates from Patch.
-Once you asses what you have, take a moment and ask yourself if 56 pairs of shoes is excessive? Do you really need 22 pairs of jeans? How many do you need? If 18 pairs of shoes and 14 pairs of jeans seems more reasonable than set that as your goal...and stick to it!!
Find out what's happening in Brentwoodwith free, real-time updates from Patch.
- Now that is seems your closet has exploded all over your room it is time to get to work! Don’t worry...in every organizing project there is always chaos before the calm. Refer back to your Ground Rules (discussed in Part One) as you start to sort through your clothes, shoes, bags, hats, etc. The most helpful question is have you worn/use it in the past year? If the answer is no let the item go!
-Keep separate piles of things that are going to donations, to be sold, or given to friends/family. As these piles start to grow take them out of the room, that way you can have a visual sense of how much you are keeping. As you are choosing items to keep begin to sort them by type, for example long sleeve shirts are separate from T-shirts.
-I highly recommend going through every item that you own, don’t cut corners by opening a drawer and assuming you wear everything in it. Dump it out and have a look!This also helps you familiarize yourself again with things that you have.
STEP TWO: SPACE PLAN
- Now that you have streamlined your wardrobe it is time to reassemble your closet. But before those hangers hit that closet rod, step back and see if there is a way you can use your space more efficiently. For instance, do you have room to add a lower rod? This would double the amount of space you have for pants and shirts. I often recommend this simple DIY rod from Home Depot.
-Could you add a vertical shoe rack instead of piling shoes on the floor? Can you use over-the-door-coat hooks for bags and scarves? (You can easily find these at discount stores like Ross.) If you have shelves, considering getting bins for sweaters or pants since stacks of clothes have the tendency to topple over. I really like using these fabric bins from the Container Store.
-Are your dresser drawers packed full, but you have rod space in your closet? One time I hung up all my client’s t-shirts because he had room in his closet, but his drawers were overflowing. He was so surprised and said it never occurred to him to hang up T-shirts.
-Speaking of hangers, if you could only do one thing to improve the space in your closet I highly recommend getting Slimline Hangers. They take up less space then regular hangers, grip your clothes (ladies you know know those spaghetti straps are always sliding off) and will bring a nice uniform look to your closet. A crazy mix of wire, plastic, and store hangers only add to the visual clutter.
- Once you have a plan to maximize your space make an accurate list of what you need before heading out to buy supplies.
-Count how many hangers you will need and what type. There are also options for belts, ties, and clips for skirts or shorts.
-Adding another rod or shoe rack? Take measurements of your space first.
-Stage your shelves with folded items, purses, scarves, etc so you can see how many bins you need. Measure your shelf space so you know how many will fit and what size you need.
-Drawer dividers are really helpful in keeping your drawers sorted.
-Don’t forget to take wall space into consideration. Adding wall hooks can give you lots of extra storage for hats, scarves, robes, etc.
STEP THREE: REASSEMBLE YOUR CLOSET
- Now that you have everything purged, sorted, and products purchased it is time to make your fantasy of an organized closet a reality. But before things start to do back in take advantage of your empty closet and do a quick vacuuming and dusting. Closets can get really dusty and they are rarely empty so attack those dust bunnies!
- Think of your closet like real estate. The easiest space for you to get to is like beach front property, that’s where all your most frequently worn items will go. The back of the closet is like the house next to the airport, that’s where all your seasonal or least worn items will go. Example, if you have to wear button down shirts everyday to work they go in the easiest place to get to, and your casual shirts can go a little further back.
- I recommend starting with all hanged items. As you swap out your old hangers for your fabulous new ones keep in mind that if you are right handed you want the front of your clothes facing to the left and the opposite if you are left handed. Sort tops first and go by type:
-Sleeveless
-Short Sleeve
-Long Sleeve
-Short Sleeve Sweaters (if hung)
-Long Sleeve Sweaters (if hung)
-Cardigans
-Jackets
-Coats
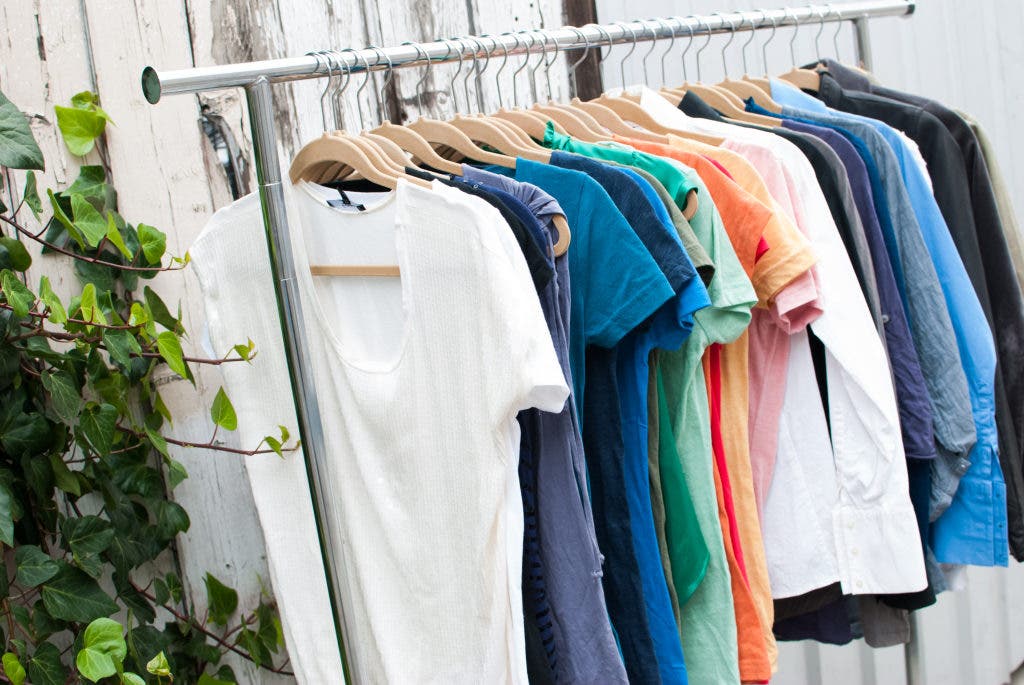
-Within each section sort soilds together, then prints together. Color code going left to right from lightest to darkest.
Then move on to bottoms:
-Skirts (by length)
-Shorts (if hung)
-Pants (hang folded in half if using a double rod)
-Sorting each one by solids, prints, and color coded same as described above.
Ladies, then move on to dress:
-Sleeveless (use hanger clips for strapless)
-Shortsleeve
-Longsleeve
-Sorting each one by solids, prints, and color coded same as described above.
- Next tackle all items for shelves, bins, and drawers. Keep going with the system of like items with like items. However, feel free to customize each section for your needs. For example some clients like to keep their gym T-shirts separate from pajama T-shirts, keep winter hats separate from summer hats, etc.
-Whenever possible I recommend standing items up vertically in drawers instead of stacks. This works especially well with shirts and tank tops. That way you can see everything you have at a glance when opening your drawer vs. digging to the bottom of a stack to find your dodgeball jersey.
- Last but not least put back all your shoes. If you are putting them on shelves set each shoe next to the other toe to heal. This gives you an extra 1/2 inch per pair of space! Which adds room and maximizes your shelf space. Again sort by type:
-Heels (open toe, close toe, wedge)
-Flats
-Dress shoes
-Sandals
-Sneakers
-Athletic shoes
-Boots
-Also be sure to color code lightest to darkest within each type. If you have little floor space in your closet or no shelves for shoes, consider getting under the bed storage bins specifically for shoes.
- The final step is labeling. This is normally something only professional organizers or already organized people do all the time. I highly recommended it because it helps you find things, and acts as a reminder to put things back where they belong. You blatantly have to undermine your new found organization when you throw a pair of socks in a drawer that is staring up at you with the sign “T-shirts.” If you don’t have a label maker, use mailing or file folder labels.
Sound like a lot of work? I will be totally honest...it is!! Someone once told me “I never said it would be easy, I said it would be worth it.” If you stick to these steps and remember to be truly honest with yourself along the way you will have an amazing closet that will be totally worth it. And since our closets are a space we deal with daily you will reap the benefits of your hard work everyday!
Coriann Bright from Bright Living Organization + Design
